I made this at the end of one of those days that felt like I’d spent entirely too much time in the kitchen creating messes and then cleaning them up. The last thing I wanted was yet another project that would lead to yet another load of dishes. I needed to simplify.

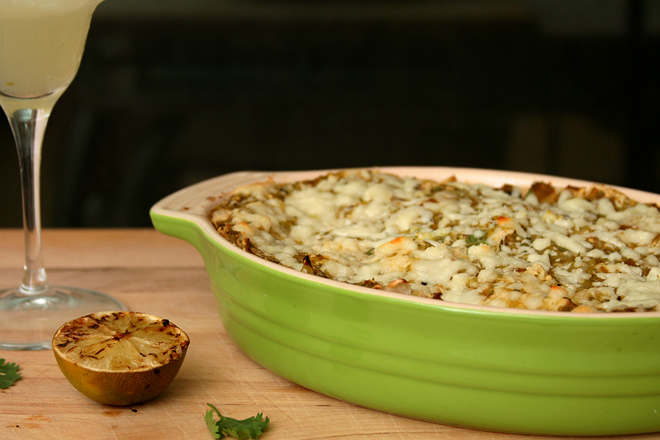
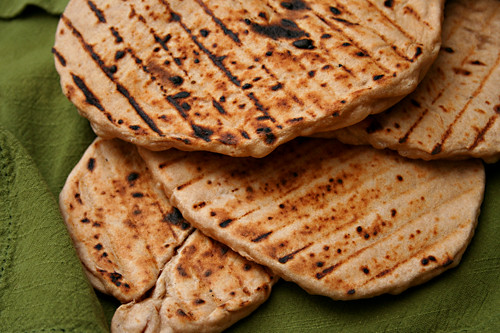
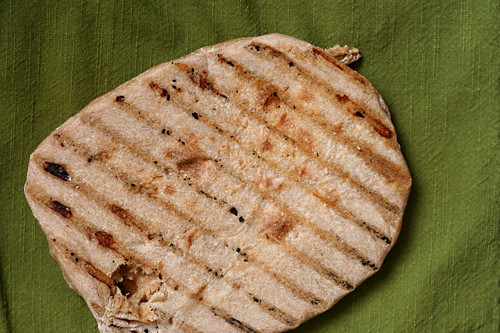
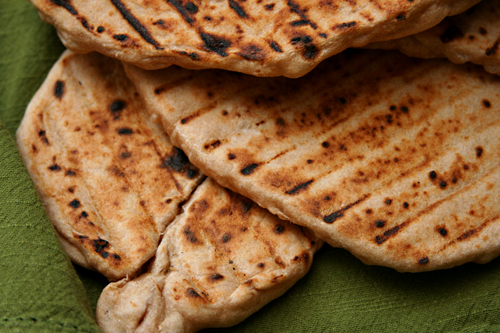
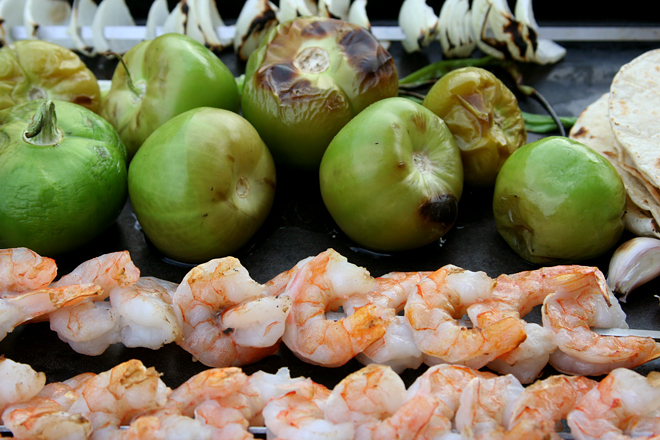
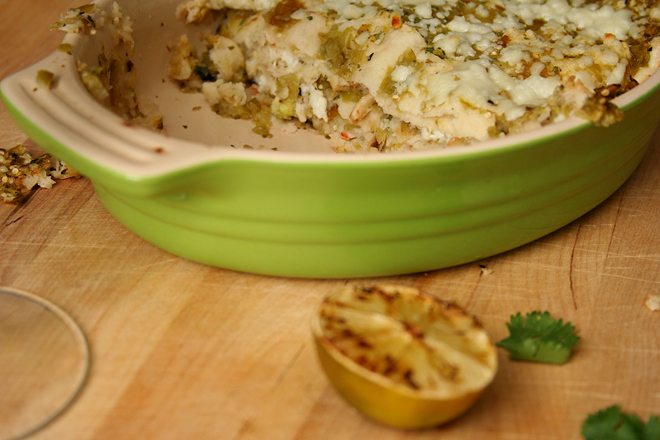
And so I did. As long as I was already grilling the tomatillos for the sauce, I went ahead and grilled…everything. The shrimp and onions that were intended to be sautéed on the stove, the tortillas that would have needed steaming (or frying) to roll. And forget rolling – I gave up on rolling tortillas for enchiladas years ago when I got lazy. Now I just create layers of filling and tortillas, like a chile-filled corny lasagna.
I don’t know if it was despite the shortcuts or because of them, but this is one of the favorite meals I’ve made lately. I was surprised that no single ingredient stood out – the dish didn’t taste particularly shrimpy or oniony or cheesy. I thought for a second that this meant I should have added more shrimp (or onions or cheese), but then I realized that it would be hard to improve on what I had. Especially considering that it hardly dirtied more dishes than the baking pan.
One year ago: Sweet Corn Hash
Two years ago: Penne alla Vodka
Three years ago: Pasta with No-Cook Tomato Sauce and Fresh Mozzarella
Four years ago: Country Egg Scramble
Printer Friendly Recipe
Grilled Shrimp and Tomatillo Enchilada Casserole (adapted from Bon Appétit via Confections of a Foodie Bride)
Serves 6
I used 2 ounces of roasted, peeled, and seeded Hatch green chiles in place of the jalapeno.
You could probably skip the scallions if you didn’t want to buy them.
½ teaspoon cumin
½ teaspoon chile powder
1 tablespoon olive oil
20 ounces shrimp, peeled and deveined
1 onion, cut into 1-inch cubes
18 corn tortillas
12 ounces (about 8) tomatillos, husks removed
1 jalapeno
2 cloves garlic, unpeeled
2 scallions
½ lime
¼ cup cilantro leaves
salt
12 ounces queso fresco, crumbled
1. Heat the oven to 350 degrees. Spray a 9-by-13-inch pan with nonstick spray. Prepare a grill with a medium-hot side and a cooler side.
2. In a large bowl, combine the cumin, chile powder, and olive oil. Add the shrimp; toss to coat. Thread the shrimp onto skewers. Thread the cubed onions onto skewers. Spray or lightly brush the onions and the tortillas with oil.
3. Grill the skewered onions over the cooler side of the grill until slightly softened and browned on the edges, about 10 minutes. Carefully place the garlic over the cooler side of the grill; heat until softened, about 4 minutes. (If the grill grates are too wide to hold the garlic cloves, skewer them with the onions.) Grill the tortillas over the hotter side of the grill until they begin to brown, about 30 seconds per side. Grill the shrimp on the hotter side until they begin to brown, 1-2 minutes per side. Grill the jalapeno over the hotter side of the grill until it’s blistered and mostly blackened, about 5 minutes, rotating occasionally; when cool enough to handle, remove the stem and seeds. Grill the lime, cut-side down, over the hotter side of the grill until it begins to brown, 2-3 minutes. Grill the scallions, with the white sides over the hotter side of the grill and the green sides over the cool side, until lightly browned, about 1 minute.
4. Remove the shrimp and onions from the skewers and transfer to the bowl of a food processor; process until coarsely chopped; transfer to a bowl. Add the tomatillos, jalapeno, garlic, scallions, juice from the lime, cilantro, and ½ teaspoon salt to the food processor; process until smooth.
5. Spread a thin layer of the tomatillo sauce over the bottom of the prepared pan. Distribute 6 tortillas evenly over the sauce. Top with one-third of the remaining sauce, then half of the shrimp mixture and one-third of the cheese. Repeat the layering of tortillas, sauce, shrimp, and cheese. Distribute the remaining tortillas over the cheese, then the remaining sauce and remaining cheese.
6. Bake, uncovered, until the cheese is browned and the casserole is bubbling around the edges, 30-40 minutes. Let rest 10 minutes before serving.